 Hardwareby Jonathan L · Hackster
Hardware · prototype
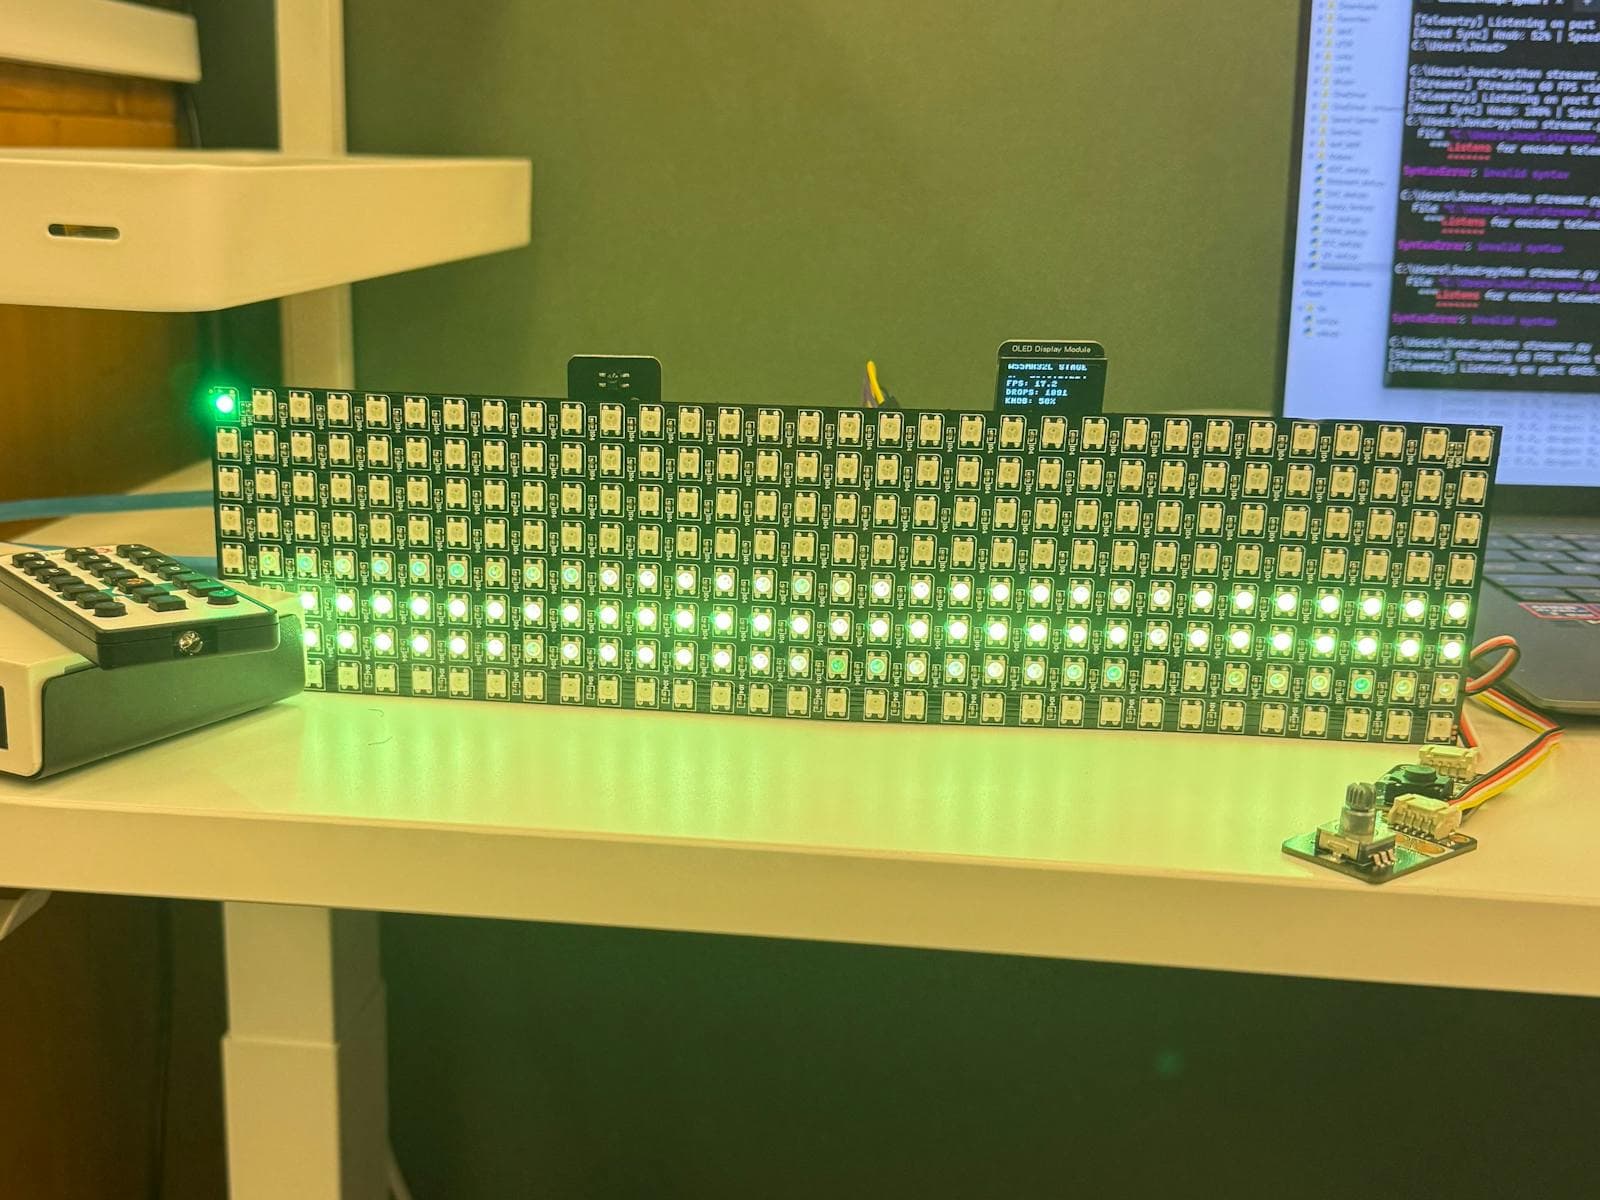
One diffuser, one LED matrix, a lot of spacing tests
A 3D-printed test rig swaps the gap between an LED matrix and its diffuser, and the light changes more than you'd expect from a few millimeters.
Build sheet
- Method
- 3D-printed test rig
- Subject
- LED matrix + diffuser spacing
- Project
- Magnetic light
Can I build this?Beginner · AI 4/5 · $15–30
- Difficulty
- Beginner
- AI-buildability
- 4/5
- Time
- A weekend
- Cost
- $15–30
Mostly a 3D-printed jig and an off-the-shelf LED matrix, with little wiring and the code is simple.
Tools
3D printer
Starter prompt
Based on "One diffuser, one LED matrix, a lot of spacing tests" on Afterware: https://afterware.xyz/p/one-diffuser-one-led-matrix-a-lot-of-spacing-tests
Write Arduino code for an ESP32-S3 driving an 8x32 WS2812B flexible LED matrix, with a test mode that cycles through a few patterns so I can judge how light looks through a diffuser. Keep the code simple so I can swap diffusers without changing the firmware. I'm mounting the matrix in a 3D-printed jig with slots at several distances from the diffuser.
Estimates based on the original write-up. How AI-buildability is scored. Building with an AI assistant? Connect it to Afterware (free MCP server).
Story
Falla built a small 3D-printed test rig to try different distances between an LED matrix and its diffuser. It's part of a magnetic light project. The point of the rig is that you can slide the diffuser to a new spacing and compare the result on the same LEDs.
The early finding is that even a small change in spacing makes a surprisingly big difference in how the matrix looks. The maker says a side-by-side comparison is coming in a separate reel, so the effect is best judged there.
If you're building your own LED panel, the takeaway is to treat diffuser spacing as a tunable parameter, not a fixed detail. A printed jig with a few fixed positions is a cheap way to find the sweet spot before you commit to an enclosure.
Resources · 1
More like this

More like this
Hardwareby Jonathan L · Hackster Hardwareby Spirik · Hackster