 Hardwareby Stephanie · Adafruit Blog
Hardware · build
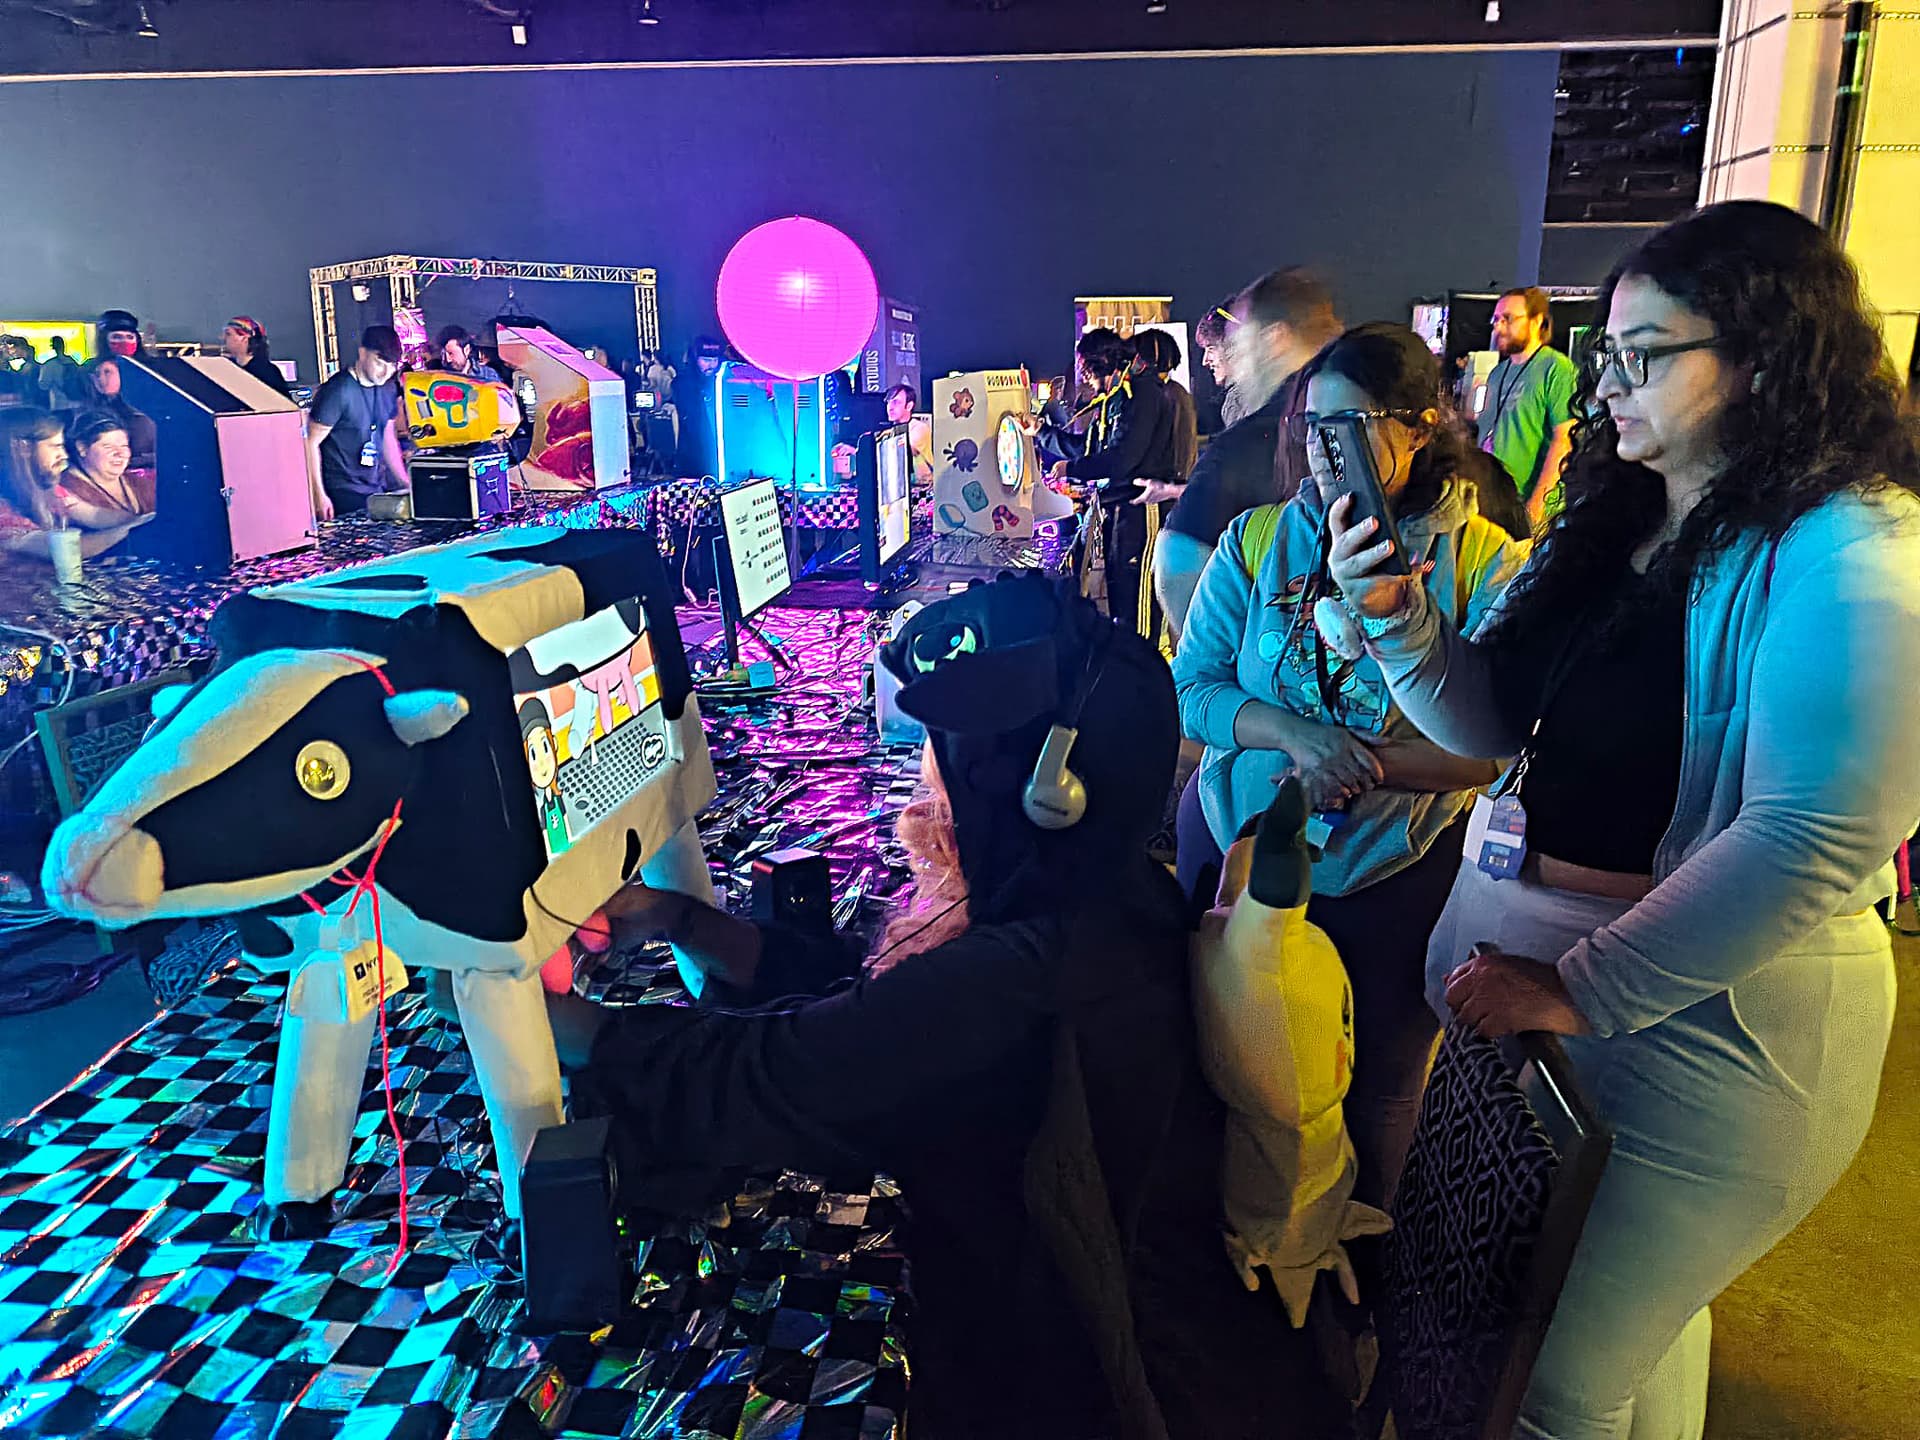
A squishy cow udder that you squeeze to the beat
Karina Chow cast a silicone udder with four teats, each one a button for a rhythm game. The sensor that finally worked was a force-sensitive resistor, not the magnets.
Build sheet
- Method
- Silicone casting over 3D-printed mold
- Sensing
- Force-sensitive resistors
- Silicone
- Smooth-On Dragon Skin 20
- Time
- 2–3 days
Can I build this?Intermediate · AI 3/5 · $60–120
- Difficulty
- Intermediate
- AI-buildability
- 3/5
- Time
- A weekend
- Cost
- $60–120
AI can write the microcontroller and rhythm game code and help with FSR wiring, but the mold design, silicone casting and sensor integration are hands-on work.
Tools
3D printervinyl glovesmixing cupsmold release spray
Starter prompt
Based on "A squishy cow udder that you squeeze to the beat" on Afterware: https://afterware.xyz/p/a-squishy-cow-udder-that-you-squeeze-to-the-beat
Write Arduino firmware for a board with four force-sensitive resistors read through analog pins, and have it send a keypress over USB for each sensor when the reading crosses a threshold. Add a debounce so a squeeze registers once. Keep the key mapping in a config constant so I can change which key each teat sends.
Estimates based on the original write-up. How AI-buildability is scored. Building with an AI assistant? Connect it to Afterware (free MCP server).
Story
Karina Chow built a miniature cow arcade cabinet for Udder Mayhem, a Rhythm Heaven Fever-style rhythm game. Each of the four teats is a key, and you squeeze them to the beat. The udder itself is Dragon Skin 20 silicone poured into a 3D-printed mold, tinted with Kryolan and Smooth-On pigments until it looks fleshy and fluorescent pink.
She tried conductive fabric, resistive stuffing, a microphone and straw, and Hall effect sensors before settling on force-sensitive resistors. The Hall setup embedded magnets in the silicone and taped sensors inside a metal tube, but the tube drifted after many squeezes and could be felt through the teat. FSRs ended the alignment problems.
If you make soft interfaces, the mold and casting workflow is the transferable part. The 3D-printed shell, insert and teat rods are shared in the project repository, and the Make: article walks through mold release, mixing and demolding step by step.
More like this

More like this
Hardwareby Stephanie · Adafruit Blog Videoby brenpoly · Hackaday